Working with synthesized waveforms is fun, but a lot of music is created using audio files — and especially looped audio. In this lesson, we are going to work with audio files, which are all based off of a single object: the buffer~ object.
The buffer~ object
The buffer~ object is an object that loads, and provides access to, audio files. We create a buffer~ object in a normal object box, but there are a few required arguments:
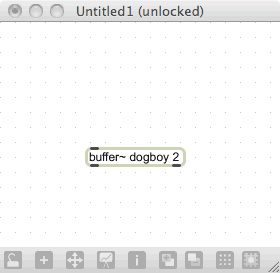
The first argument is a name for the buffer~ — the moniker that other object will use to access this data. In this case, the buffer~ is named “dogboy”, but that name is totally arbitrary. The second argument, although optional, is a good idea to add. It is the number of audio channels that you expect to use with this buffer. In this case, we have set the buffer~ up for 2 channels; they are now available, even if our audio file only contains one channel.
You could place a file name in the buffer~ object (right after the buffer name), but that is not as flexible as loading the buffer with a message. Assuming that you have a file named “demo01.aif”, the following patch will load the file:
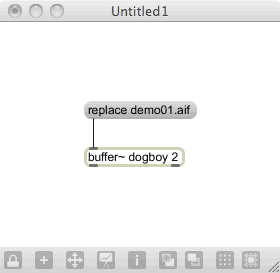
There are several messages that will load files into a buffer~ object, but the “replace” message is the most flexible — it will resize the memory of the buffer~ object to fit the audio file you are loading (unlike the read message). If you have to load a compressed file (like an MP3 file), you will want to use the “import” message instead. If you want to verify that the data is loaded, you can double-click on the buffer~ (when the patch is locked), and a window will pop up with a waveform display that shows the contents of the buffer~.
Now, the buffer~ object is great for loading files, but it has no capability to play them. For that, we will need a playback object — in our case, a new friend object.
Friend Object: groove~
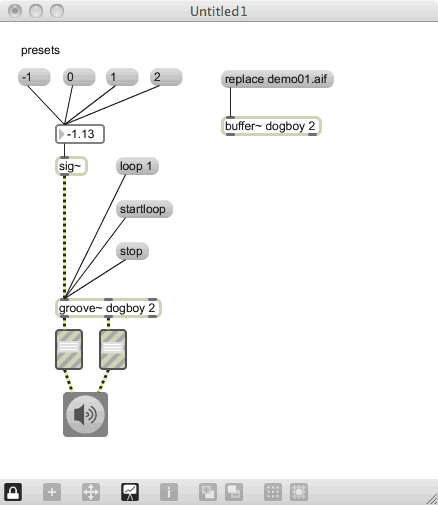
The groove~ object is a favorite for sample playback, because you can control many facets of the playback with a few different messages. Put together this patch, which will help use get started with playback:
Friend Object: sig~
There is a new friend object here: the sig~ object. What the sig~ object does is turn a static number (like we get from our flonum object) and turns it into an audio signal. You can think of audio signals as “streams” of data, which spit out a constant flow of data; this is unlike Max messages, which send individual events.
An audio signal is used to drive the speed of playback, and we can set playback to loop using the “loop” message. We also start and stop playback using the “startloop” and “stop” messages to provide simple playback control.
You will notice that we can simulate a lot of interesting sounds by adjusting the playback speed: we can slow down playback by dropping the playback rate toward zero, and reverse playback by sending the groove~ object a negative number.
Friend Object: info~
In order to take advantage of some of groove~‘s more advanced features, we will need to get some information about the data in the buffer~. One of the conveniences of the buffer object is that the right outlet produces a bang message as soon as a file is loaded. When we get this bang, we can force a new object — the info~ object — to tell us some things about the current contents.
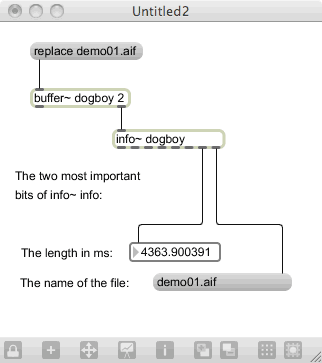
It’s great to see this information, but what do we do with it? The most obvious is to use the length of the file to determine the loop points, and know for sure that our settings are reasonable for the currently loaded file. One of the interesting things about groove~ is that it takes it’s loop point setting in milliseconds, rather than in samples. Why?
Because by doing this, it avoids us having to worry about sample rate and other over-technical things when dealing with setting loop points.
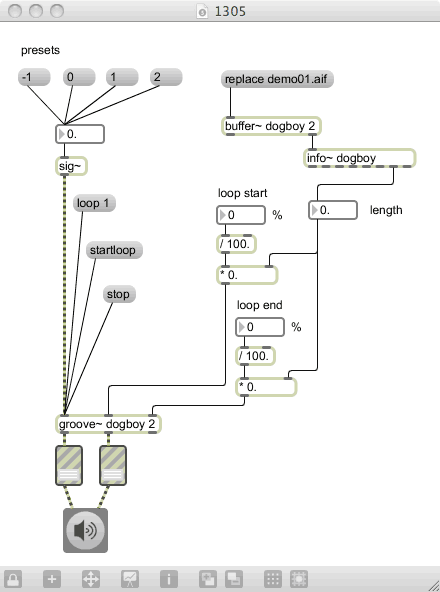
In this patch, the info~ object gives us millisecond outputs for the file, which we use to scale our loop values to fit the sample.
Related object: scope~
Sometimes, it is useful for us to view the waveform that our audio project is producing. We can’t print audio to the Max window, because it is a constant stream of data that would quickly overwhelm our screen. Instead, we can use the scope~ object, which simulates an oscilloscope, to do our viewing.
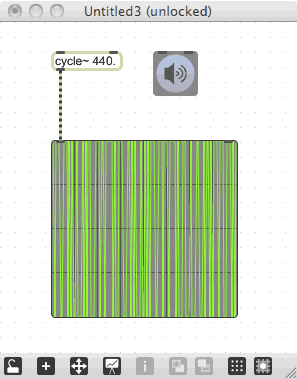
Sometimes, if you are working on pretty fast audio-rate streams, you will need to change some of the default options for scope~. When I work with the scope~ object, I will often change the buffer size to 8 or 16 and the calccount to 8 or 16:
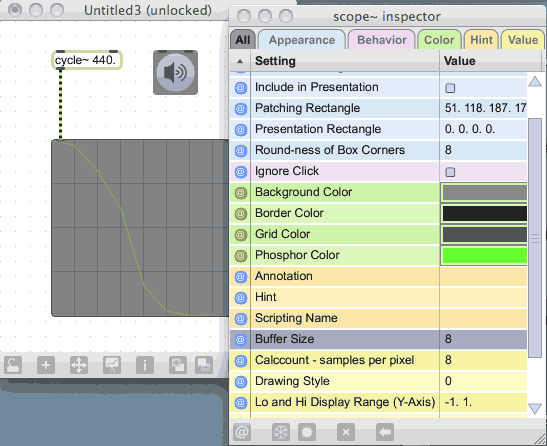
This gives good results when working with audio signals in a typical audible range.
Related object: phaser~
We are going to take a short diversion from sample playback for a second to look at another computer-generated waveform: the phaser~ object and its ramp waveform. This will be important for a number of things we will do with sample playback, so let’s take a quick look.
Create the following patch and turn on the ezdac~:
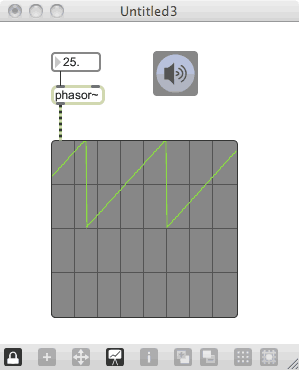
You can see on the scope~ that this creates an upward ramp that goes from 0.0 to 1.0. For use with sample playback, we could use a phaser~ to move from the beginning of the sample to the end. To do this, we’ll need another related object:
Related object: wave~
If we create a patch with the wave~ object, we can use a phaser~ object to drive the playback. It will use the current value of the phaser~ object to determine the playback point, and will play the sample at that output position. By changing the speed of the phaser~ output, we can change the speed of the playback.
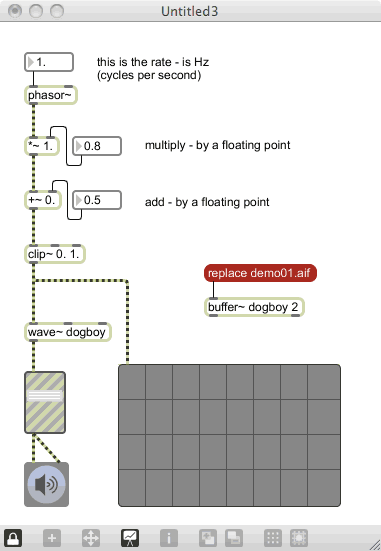
By manipulating the output of the phaser~, we can also change the playback of the sample. The easiest way to manipulate the phaser~ output is through the audio-rate math functions. You can find these in the help system, but suffice to say that for every Max math option, there is an MSP equivalent — it just needs a tilde at the end. Let’s put together a patch that lets us manipulate the phaser~ output, display this driver and listen to the sound of the patch:
Conclusion
So we’ve seen a number of ways to work with samples, and ways to manipulate the sample playback using signals and phaser~ objects. There are a million different ways to create interesting audio using sample playback tools — try to dig through the documentation, tutorials and other materials to see if there might be something that inspires you.
Next: 14. svf~